Saturday, 10 May 2014

Alkalis

Heyo guys I am back!! Today I'll be talking about alkalis hehe.

Here's some information about alkalis!

  1. They turn the universal indicator from a shade of green to violet.
  2. They turn the red litmus paper blue.
  3. It's pH is above 7.
However, there is an exception of one solution called... AMMONIA!

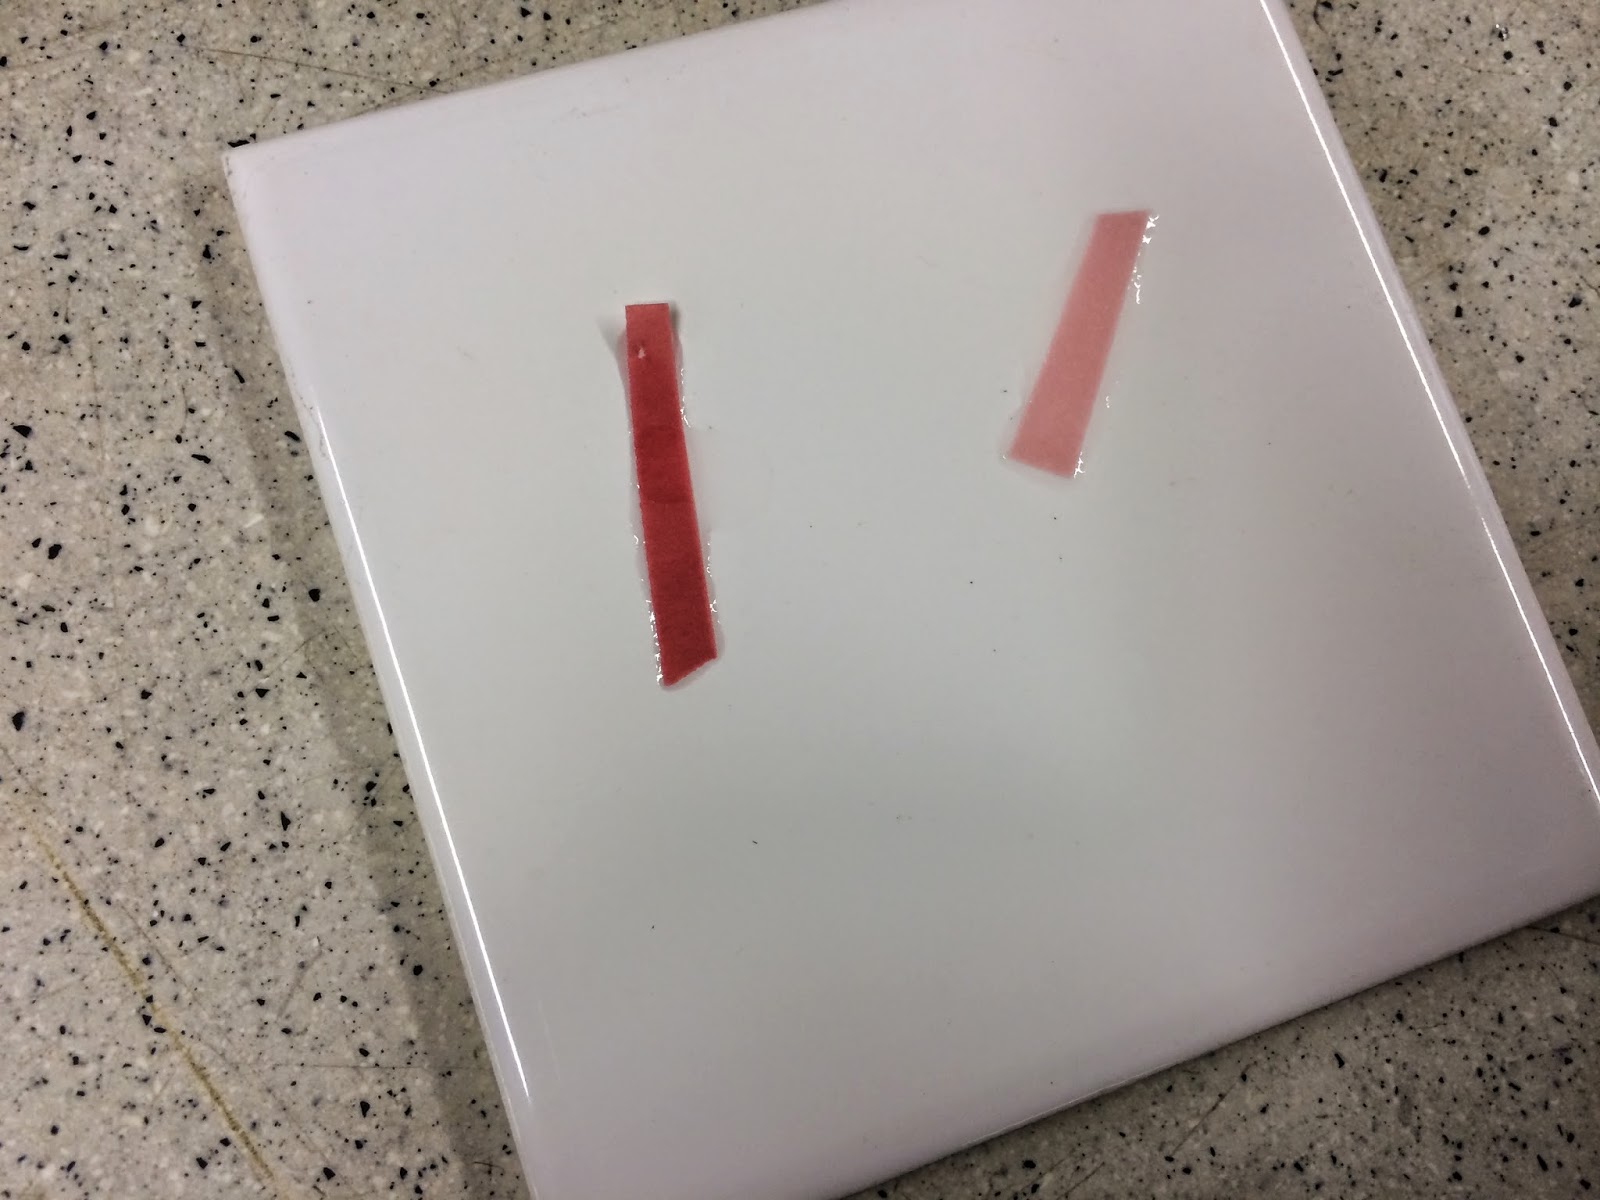
Ammonia has a pH above 7, however it turns red litmus paper into a shade of purplish-blue and the universal indicator from green to dark green! Here's two images! (: They're for the alkali reactions!! 


Isn't it cool!! Another experiment we did shown the colour change of the acid when we continuously added drops of sodium hydroxide to it. Why does this happen? This is because sodium hydroxide is an alkali, so it causes the acid to have a change in pH and become more of an alkali as more drops are added! Here's the image of the different colours! 


Okay! That's all folks! Hope you've learnt something! (: 

Monday, 5 May 2014

Acids

Ello everyone! I'm back again, this time about acids that can BURN you.

Here is a short introduction on acids!

  1. Acids have a pH of less than 7. (7 is NEUTRAL)
  2. Acids are substances that produce H+ ions in water. 
  3. Sour Taste (Please don't try don't you will burn your tongue, probably) 
  4. Dissolves in water to form solutions that conduct electricity
How do we test if a solution/liquid is a acid. We can't possibly drink it, right? Here's one experiment we did, and it can help us determine which solution is an acid. Here are the following steps:
  1. Firstly, take some blue and red litmus paper and place both pieces on a white tile. 
  2. Next, drip a drop of the solution onto each piece of paper. 
  3. Fill a test tube with the universal indicator solution.
  4. Drip a drop of the solution into the test tube.
  5. Observe and record your observations down. 
Basically, what you should get is the following results:
  1. The blue litmus paper turns red, and the red litmus paper remains red. 
  2. The universal indicator solution, which was green in our case, turned red. 
Here are some videos for you to see the changes! 


We did two other experiments on acids, but we did not video them or take any pictures because the reactions were rather fast. Let me describe in words the experiments we did! 

In the other two experiments, we basically mixed acid with carbonate and metal respectively by themselves, which means the second experiment was acid plus carbonate, while the third experiment was acid plus metal. Basically, this entire experiment time was to see what happens when acids react with other substances/materials. 

In general, we learnt 3 equations after that lesson. They are general equations which will help you in your paper (; *hints* 
  1. Metal + Acid --> Salt + Hydrogen 
  2. Base/Alkali + Acid --> Salt + Water
  3. Carbonate + Acid --> Salt + Water + Carbon Dioxide
Hope you learnt more! See you soon!! :D 


Chemical Changes-Digging Deeper

Here's more about Chemical Changes! 

There are 3 different types of reactions (for Chemical Changes)

  1. Combination
    • Two or more elements react to form a new compound
  2. Decomposition
    • Substances breaking down into 2 or more substances
  3. Combustion
    • Involves the burning of a substance in the presence of oxygen to form new compounds
    • The result of combustion (reaction) is oxygen and carbon dioxide 
Here's a picture to show you an example of decomposition! (: 

I can't remember what really happened, but basically we heated this green powder up and it changed colour to black :D 

This is the only photo I have from the experiments for Chemical Changes :( Hope this short post was useful, everyone good luck for TAs on 16th May!! (: 


Wednesday, 30 April 2014

Separation Techniques-A Quick Look (Part 2)

As said in my previous post, here are the topics I'll be covering. 
  1. Filtration
  2. Chromatography
  3. Evaporation (to Dryness)
  4. Distillation and Fractional Distillation
  5. Crystallisation (as mentioned in previous post) 
  6. Magnetisation 
  7. Sublimation
  8. Separation of immisicible liquids 
Now, I'll be talking about Sublimation! Sublimation is a process in which a solid substance gains heat and turns into a gas substance, bypassing the liquid state. Examples of substances that sublime include Iodine and Dry Ice (Solid Carbon Dioxide) 


Taken from: http://commons.wikimedia.org/wiki/File:Dry_Ice_Sublimation_2.jpg

Next, there is separation of immisicible liquids. They are basically liquids that don't mix with each other. To separate them, we use a separation funnel. The liquid with the higher density will remain at the bottom of the funnel while the liquid with the lower density will float on top. Take an example, water and oil. Oil has lower density, so it will float on top of the water, so when separating the two liquids, the water will flow out and into a beaker, whereas the oil will be left in the funnel. 

That's all for now, hope you've learnt a bit more! ^-^ 


Separation Techniques-A Quick Look (Part 1)

Another post for the day! (: It'll be about Separation Techniques, and I'll just cover a few different techniques. 

When separating solutions/chemicals etc, there are many ways of doing it. I will list them out, and highlight those I will be covering. 

  1. Filtration
  2. Chromatography
  3. Evaporation (to Dryness)
  4. Distillation and Fractional Distillation
  5. Crystallisation (as mentioned in previous post) 
  6. Magnetisation 
  7. Sublimation
  8. Separation of immisicible liquids 
Let's start with filtration. Filtration helps us separate (solid and insoluble) substances from liquid. An example would be trying to take out sand from water. 

The principle behind this is that undissolved solid particles are too big to pass through the filter paper, and they are left behind on the filter paper. Another name for the particles left behind is residue. The liquid that flows out and is collected is known as filtrate. 

In real life, we use filtration at the water treatment plant, where we remove solid waste from water.

Next, evaporation (to dryness). This procedure is used to recover a solute from a solution. In this process, we heat the solution up, causing the solvent to gain heat and evaporate, leaving the solute behind. However, this method is not suitable for solutes that can be decomposed by heating, such as sugar. Despite getting the solute back rather quickly, this process has a flaw. Soluble impurities will also be left behind, together with our solute. 

Lastly for this post, I'll be covering Magnetisation. As we can infer from the name, it involves us using a magnet to separate the substances/solids. Magnetic substances are separated from non-magnetic substances by using a magnet, since magnetic substances will be attracted to the magnet. Example, when we are trying to separate a mixture of sulfur from iron fillings. This method is useful in real life, where we use strong magnets to lift cars from the scrap metal pile at junkyards. 

This post has come to an end, the other two techniques will be mentioned in my next post, which should come about tomorrow! Have a great Labour Day holiday!! (: 

The Periodic Table-Atomic Number, Mass Number and Relative Atomic Mass

Hey everyone! This is rather late (the topic as in), because we actually learnt about it in February but I realised I never wrote anything on it! D: So here is a bit of information now... 


Also, the nucleon number/mass number can be derived by adding up the number of protons and the number of neutrons together. Let's take the element Silver as an example. It has a 47 protons, and 61 neutrons, which means it has a nucleon number/mass number of 108. The various values can be taken/derived from the Periodic Table. The image below will show you how to get the different values. 

However, during the exam, the periodic table will be given to you, and the atomic mass will be a whole number, so you do not need to worry but getting a weird number! One more thing, the atomic mass is the nucleon number/mass number!


(Credits to: http://kaffee.50webs.com/Science/activities/Chem/Activity.Atomic.Structure.1a.html for the photo!) 

We also learnt about isotopes. What are isotopes, you ask? Isotopes are atoms of the same element, but they have different number of neutrons. The average atomic mass of an element is calculated based on the average mass of all the isotopes available. 

That's all for now! (: Hope you learnt more!

Saturday, 19 April 2014

Physical and Chemical Changes

I haven't updated this blog in a while so... Here's a post on what we did on 27th March! It's on Physical and Chemical Changes. It's mainly to help us differentiate between them (: 

Here is the first experiment we had that day. More specifically, it was a teacher demonstration.


Basically, iodine crystals were placed in a round-bottomed flask, which was then gently heated. When the crystals were heated, they sublimed to form purple gas. Later, the flask was cooled and the purple fumes were deposited on the side, forming a solid again. 


Then, we did another experiment, this time we did it by ourselves. We were made to heat two different substances, the first one is Sodium Chloride, the second one was Copper (II) Carbonate. When heated, the Sodium Chloride melted into liquid, whereas the Copper (II) Carbonate turned into the colour black upon heating. After leaving them to cool down for a while, the Sodium Chloride solidified, whereas there was no observable change for the Copper (II) Carbonate, meaning it still looked black after cooling. 


We then realised that the formal change was a physical change, because the substance went through a change of state, from solid to liquid, and then liquid to solid. Likewise, the Iodine crystals also went through a change of state, sublimation (solid to gas), thus it is a physical change too. However, the latter change is a chemical change, because the change is irreversible, which means that the Copper (II) Carbonate cannot be changed back to its original green colour. When the Copper (II) Carbonate was heated, a chemical reaction took place. The following word equation will show what happens when it is heated:
Copper (II) Carbonate --> Copper (II) Oxide + Carbon Dioxide
Since another substance is produced after heating the Copper (II) Carbonate, we can see that the latter change is a chemical change.

From this lesson and experiment, I learnt what makes up a physical change and what makes up a chemical change. A physical change is the change of state, and it is a reversible process. However, a new substance is produced during a chemical change, and the process is irreversible.

Friday, 21 February 2014

Crystallisation

The fourth experiment of the year ^-^ (If I'm not wrong) 

In this experiment, we were supposed to make crystals using this method called crystallisation, one of the few separating techniques we learnt. 

Basically, everyone was supposed to:
  1. Mix copper (II) sulphate with water until it cannot be dissolved anymore (in the water). 
  2. Then, filter out the particles that did not dissolve using filter paper. 
  3. Next, we boil the filtrate, which is the liquid left after filtering out the solid particles. 
  4. When half of the filtrate has evaporated, pour half of the remaining liquid into a boiling tube, and leave the other half to cool in the evaporating dish
  5. Place the boiling tube in a beaker filled with ice water (rapid cooling) 
In the end, both ways of cooling the filtrate (rapid cooling and slow cooling) caused crystals to form. However, if the mixture is not saturated enough, crystals will not form (such as my group). Crystals are formed when water evaporates, which means there has to be a lot of a certain type of particle solute left to have crystals form.


Also, the type of crystals formed by rapid and slow cooling are different. Rapid cooling creates smaller and less defined crystals while slow cooling creates larger and more defined crystals. This is because slow cooling allows the crystals to take a longer time to form, resulting it to become more defined and larger.


 These are the crystals formed through rapid cooling (placed in the ice water).

These are the crystals formed through slow cooling. As you can see, one of the evaporating dishes does not contain any crystals. This is because the solution was not saturated enough (it belongs to my group). D: 

Saturday, 1 February 2014

Energy Tower Experiment :D

Hello everyone! (: We had another experiment know as the Energy Tower Experiment, so I'll be writing about it here. 

In this experiment, we were supposed to lift the "Treasure" up to a height of 15cm. The "Treasure"- a 5 gram weight-is to be lifted using reusable energy power, in which case, only water power is available. 

Challenges were faced, surprises were given. We took 1h to create our first experiment, which failed. Then, we spent 5-10 minutes on another experiment then we succeeded. 

Our first experiment involved using corrugated board to make the wheel, but it did not work very well due to water causing the clay to have the inability to stick, and friction about certain parts. The made water wheel was also very unstable. As for the second experiment, we wrote down the procedure detailedly since it was successful, so here it is! 
1. Place two bottles in the sink as stands.
2. Fill them with water to ensure that it does not topple.
3. Shape a block of plasticine to a circular disk
4. Cut off half of the spoon handle and pierce the rest of it into the plasticine at an interval of around 3 cm
5. Insert a wooden skewer through the middle of plasticine disk.
6. Secure the tips of the wooden skewer onto the bottle caps.
7. Tie the string to the weight, then tie the other end onto the wooden skewer.
8. Pour water onto the spokes of the waterwheel.
9. Repeat with the interval between the spokes as 2 cm.

We started off with 6 spokes, but after observation, we realised it was not able to fully lift the load, thus adding another 2 spokes, making it a total of 8. From this, we can see that with more spoons used, the faster the wheel will spin and the load get lifted.

Here are some photos and a video!


At the end of the experiment, my group did a self-reflection, and we realised that to succeed in an experiment, we must not think to complicated and too straight (making a water wheel). Just think of how some things can be used as replacements for others and it still can be successful.

Friday, 31 January 2014

Sunken Treasure Practical :D

During our first practical lesson, we conducted an experiment titled "Sunken Treasure". 

Basically, we were not allowed to use muscle strength or lung strength to lift the "Treasure", which is a bottle filled with marbles. Our aim was to find out which solution (1/2/3), alongside a combination of other solutions, will help to pull up this "Treasure", which will be placed in this GIGANTIC basin of water.

After much pondering (during planning) , my group realised that air would help to pull up the "Treasure", and since we had the balloons, we would use them. However, we could not use any lung strength to fill up the balloon, so how can we do it? 

In order to create air bubbles to inflate the balloon, we had to find the right solution. The following was our plan:
1. Pour an equal amount of each solution into three different test tubes
2. Set the timer (4.30 minutes)
3. Drop a piece of chopped carrot into each test tube, starting the timer
4. Observe which test tube still has the carrot bubbling by the end of 4.30 minutes

The result was Solution B.

Next, we decided to add the two condiments (I think it is the correct word) to the solution and see if there is any difference in the reaction. When salt was added, there were more bubbles produced when sugar was added. However, it was supposedly to have had more bubbles when sugar was added.

We then started on THE REAL THING. The following is our procedure:
1. Pour a spoonful of salt in a conical flask.
2. Pour Solution B into the conical flask until it reaches the 100 ml marker.
3. Pour 40ml worth of carrot pieces into the balloon.
4. Attach the balloon to the conical flask.
5. Submerge the conical flask, then squeeze the carrot pieces from the balloon into the flask.
6. Use a metal wire to tie around the bottle and the conical flask, attaching them together when the balloon is fully inflated.
7. Repeat steps 1-6 with another conical flask.
8. Repeat with yet another conical flask to ensure that it inflates.

And… IT WORKED :D The funny part though was that one of our balloons popped and the carrots sank and it looked a bit disgusting…


Here are some photos!


What I learnt: The SOLUTION WAS ACTUALLY HYDROGEN PEROXIDE!! 
So what does Hydrogen Peroxide got to do with carrots and air?!
Answer: When Hydrogen Peroxide is combined with the carrots, gas is created. This is because in carrots, there is an enzyme that acts as a catalyst, causing the decomposition of the Hydrogen Peroxide solution into water and oxygen (which allows us to inflate the balloon).